The Project Name, duration and skillLevel, make sure these values match the astra.json
Update the INSTRUCTIONS_LINK with the absolute path to your INSTRUCTIONS.md --->
{duration}, {skillLevel}, Start Building
{heroImage}
- {objective 1}
{howThisWorks}
To build and play with this app, follow the build instructions that are located here: INSTRUCTIONS_LINK
Follow the instructions below to get started.
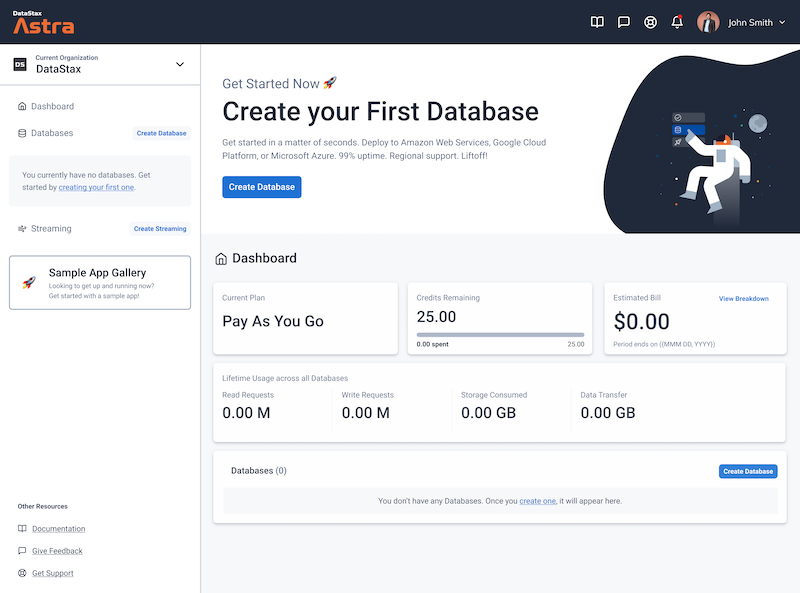
Let's do some initial setup by creating a serverless(!) database.
-
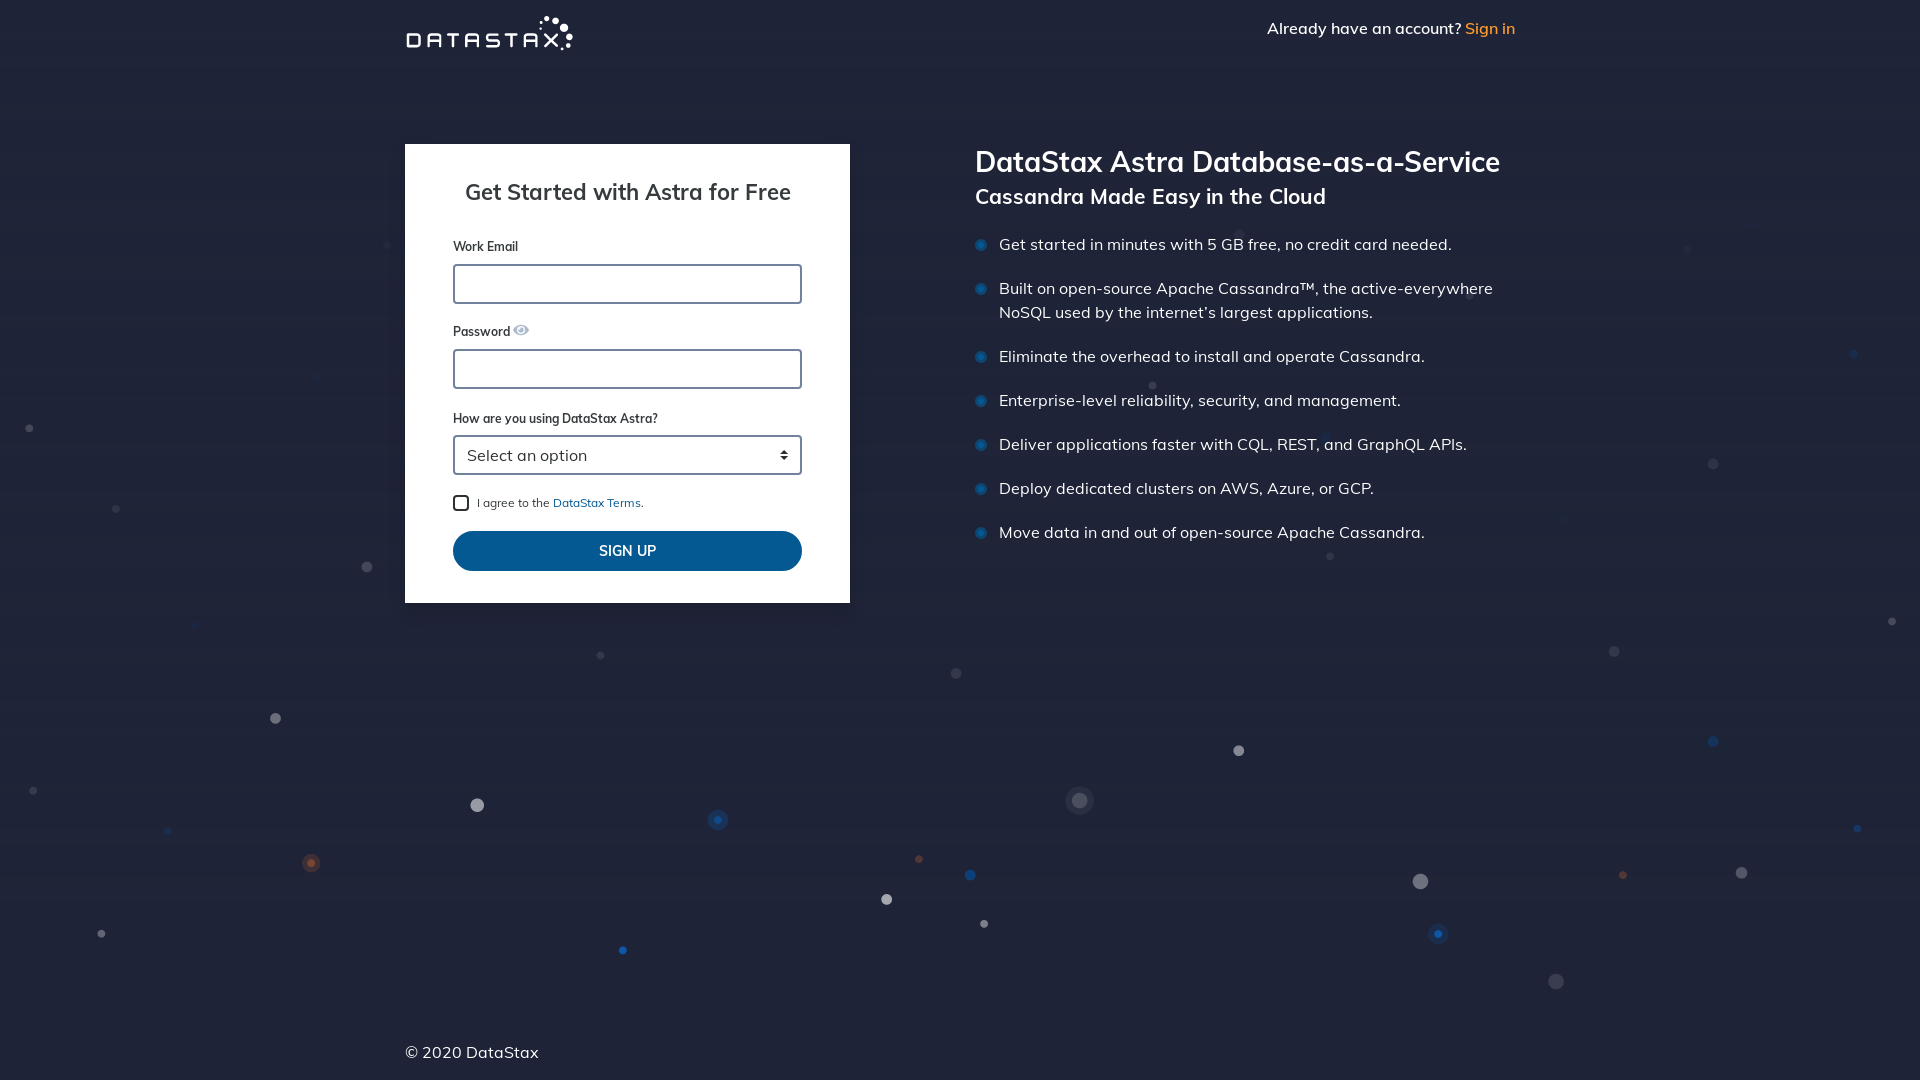
Create a DataStax Astra account if you don't already have one:
-
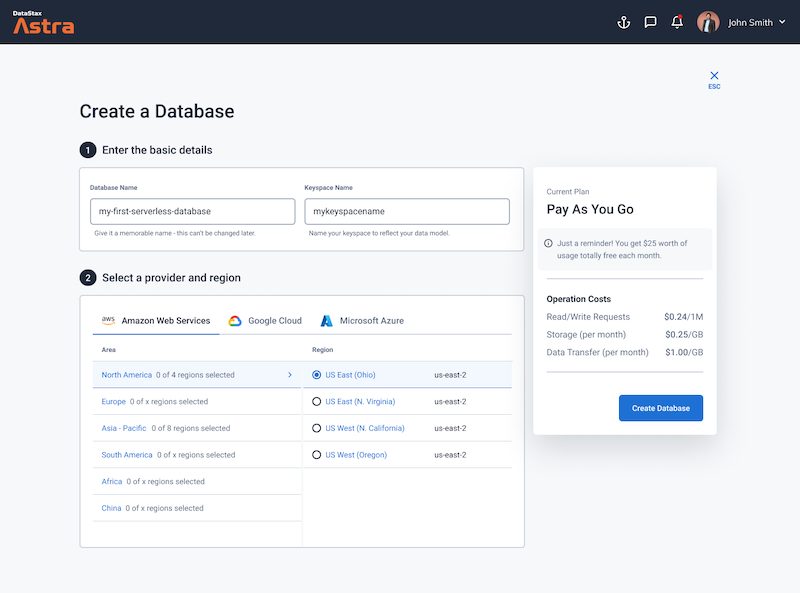
Define a database name, keyspace name and select a database region, then click create database.
-
Your Astra DB will be ready when the status will change from
PendingtoActive💥💥💥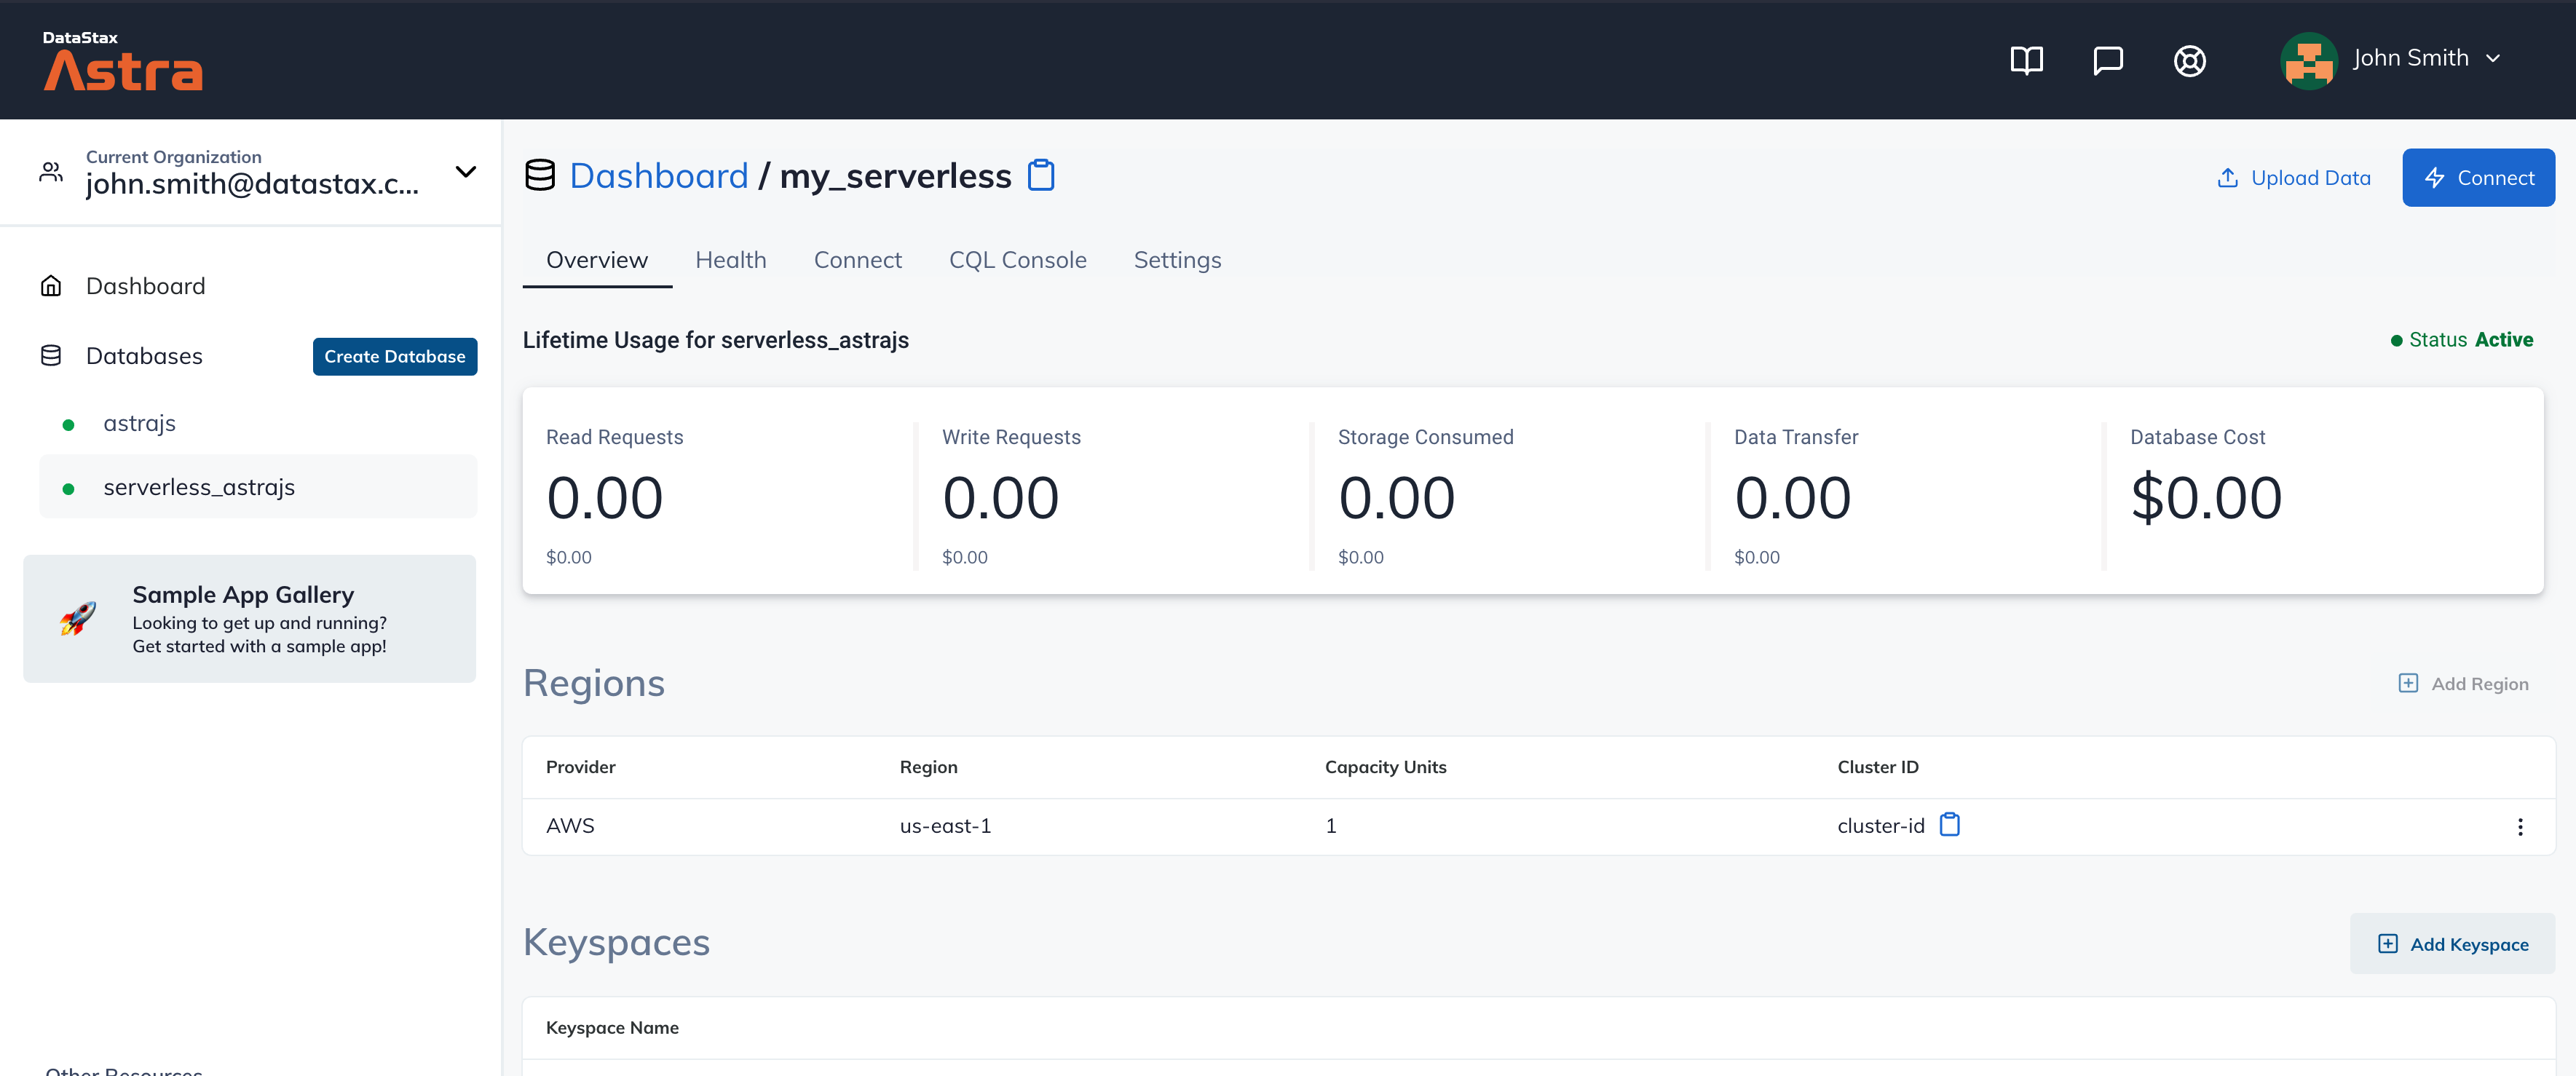
-
After your database is provisioned, we need to generate an Application Token for our App. Go to the
Settingstab in the database home screen.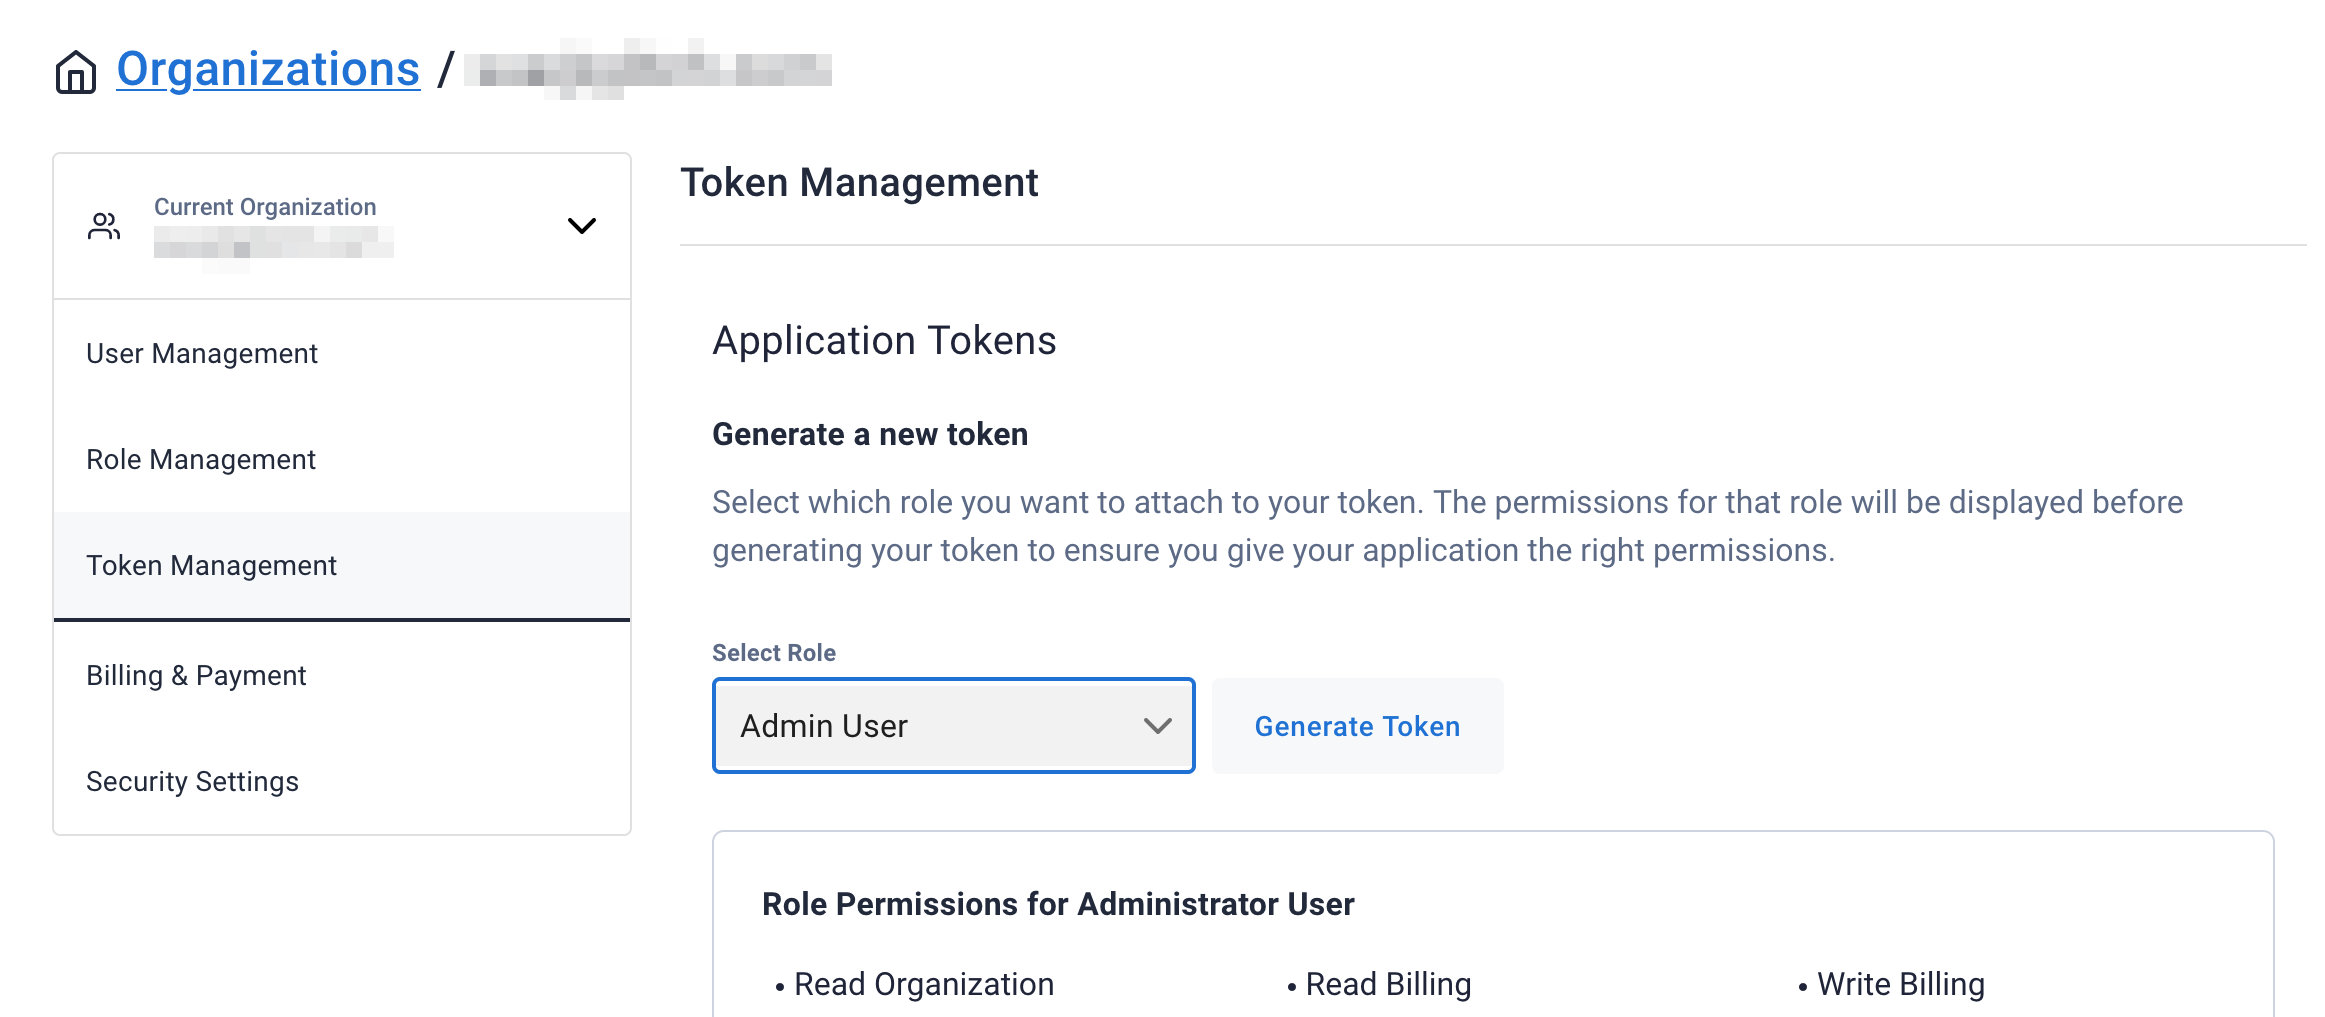
-
Select
Admin Userfor the role for this Sample App and then generate the token. Download the CSV so that we can use the credentials we need later.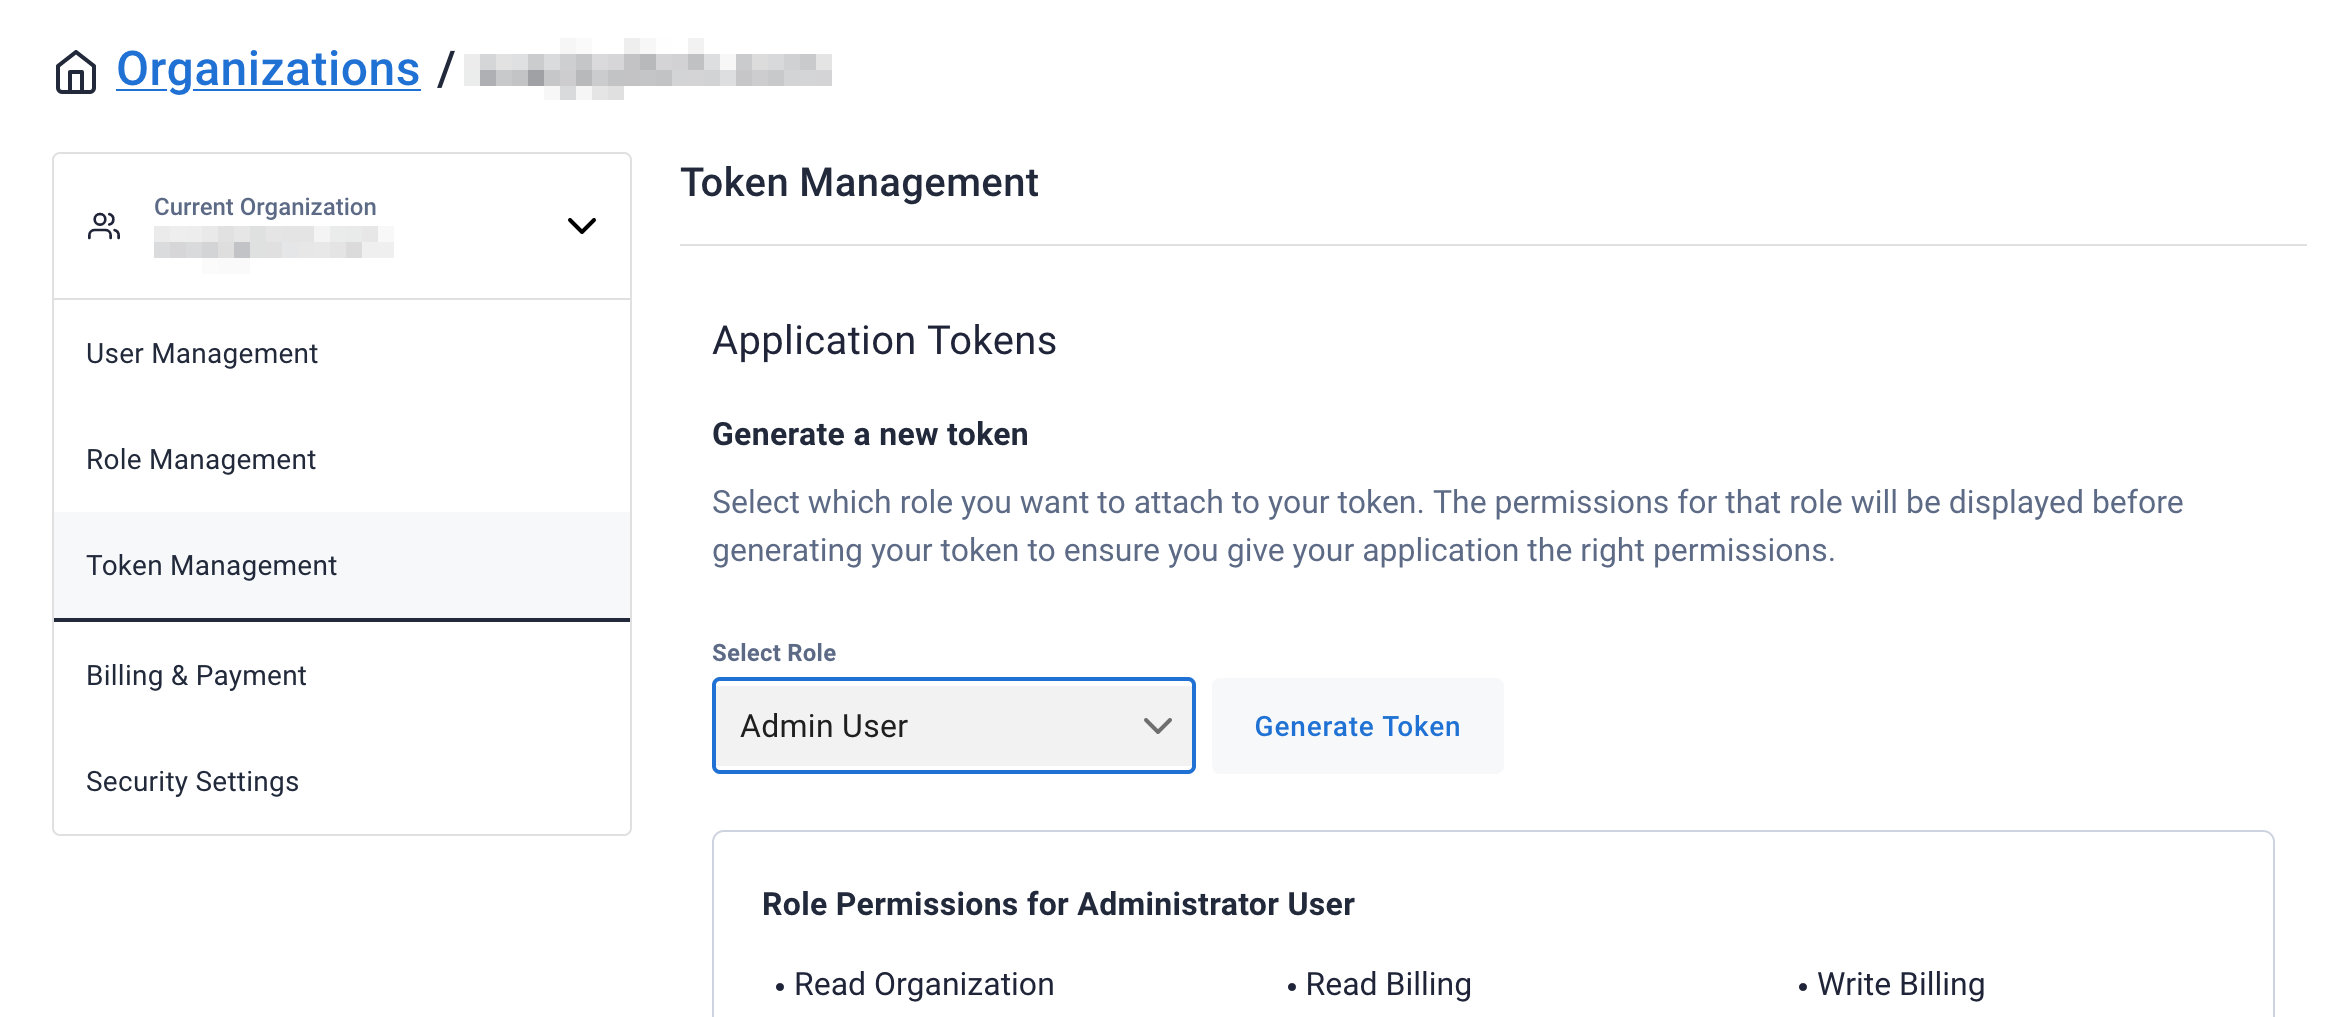
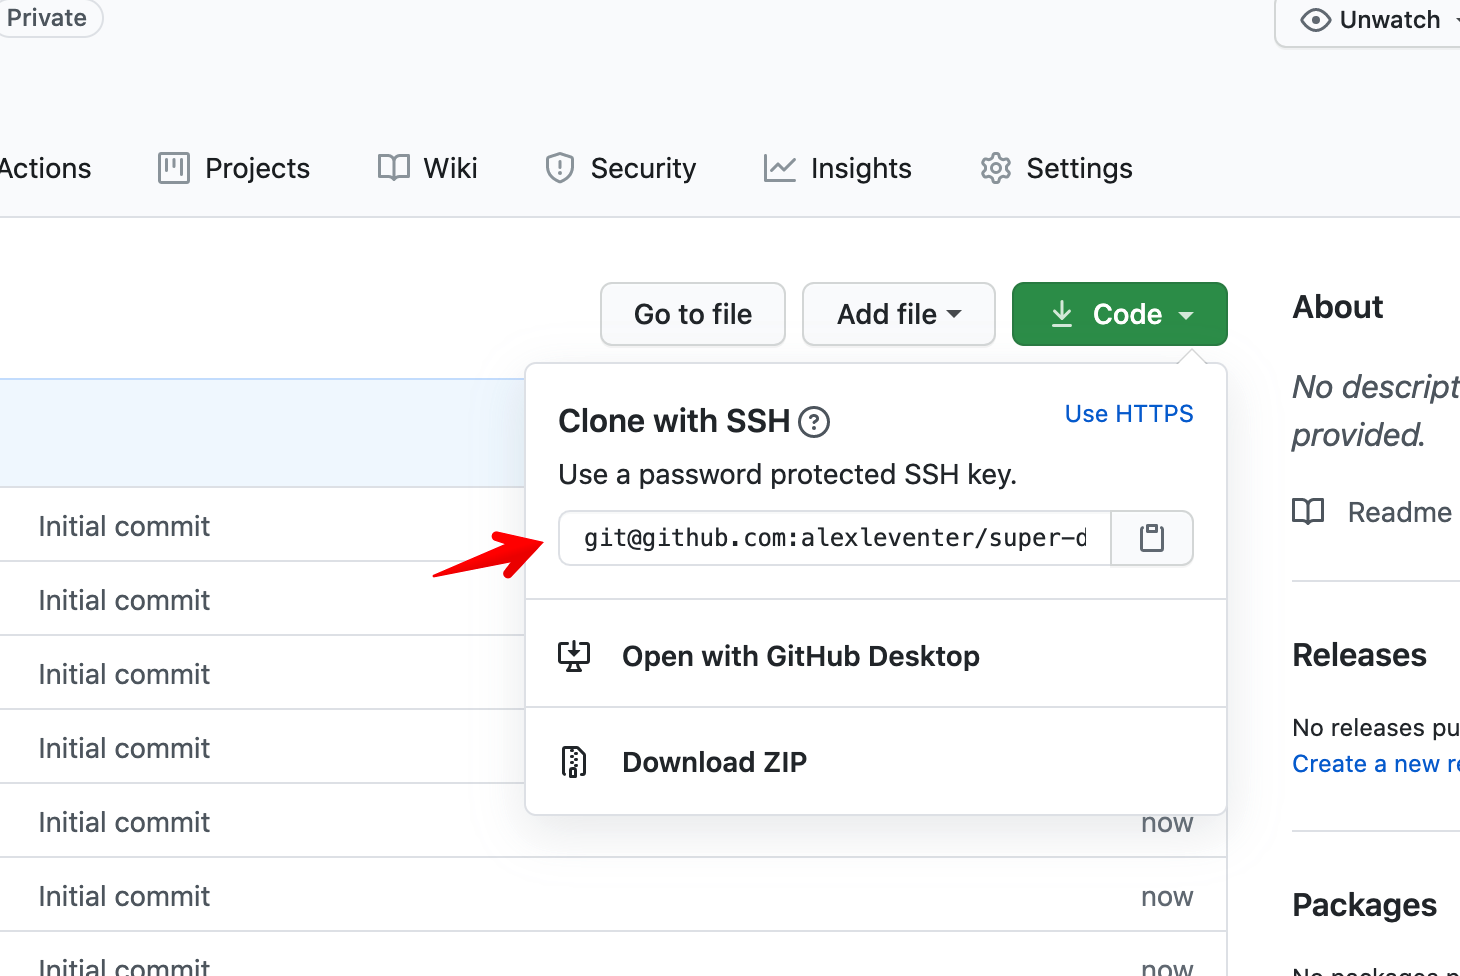
- Create a new repository from this project using the
Use Templatebutton. - Delete the template specific files and folders:
SAMPLE_APP_CONTRIBUTING.md,screenshots. - Fill out the
README.mdandINSTRUCTIONS.mdfiles while following the directions (in comments) within. - Fill out the
astra.jsonfile with the pertinent values from yourREADME.md - Ping the #sample-apps team to review your app and go through the publishing process.
- After you have your Application Token, head to the database connect screen and copy the connection information that we'll need later. We'll replace
ASTRA_DB_APPLICATION_TOKENwith theTokenvalue that is part of your Application Token.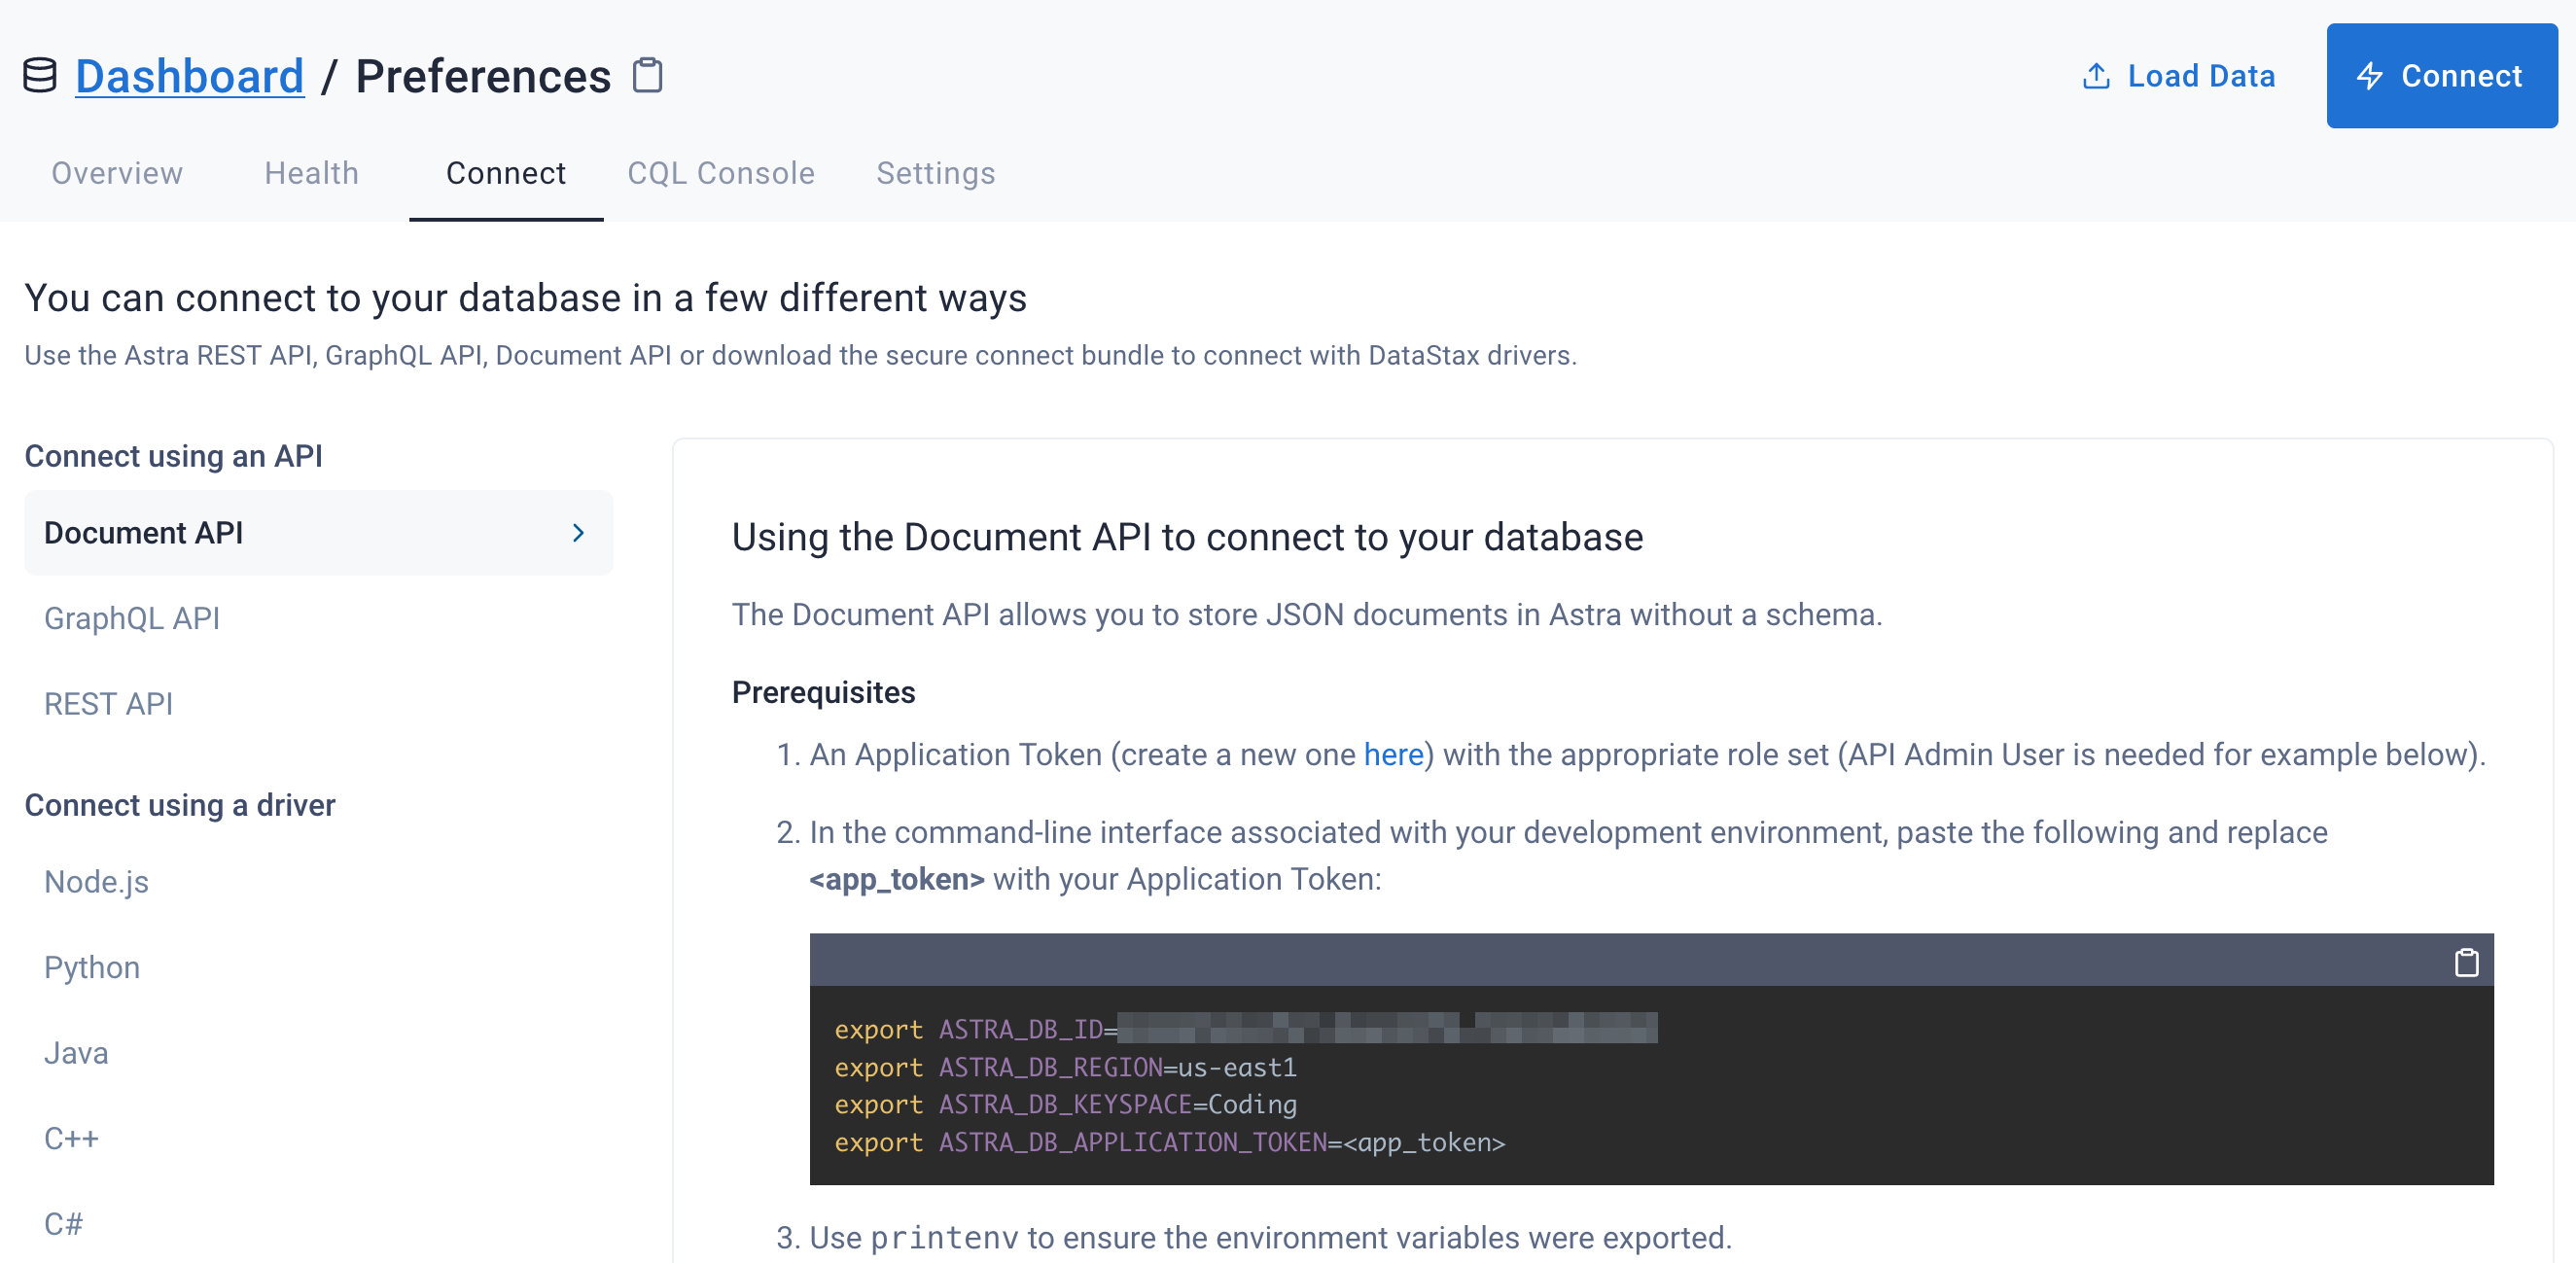
-
After you have your Application Token, head to the database connect screen and select the driver connection that we need. Go ahead and download the
Secure Bundlefor the driver.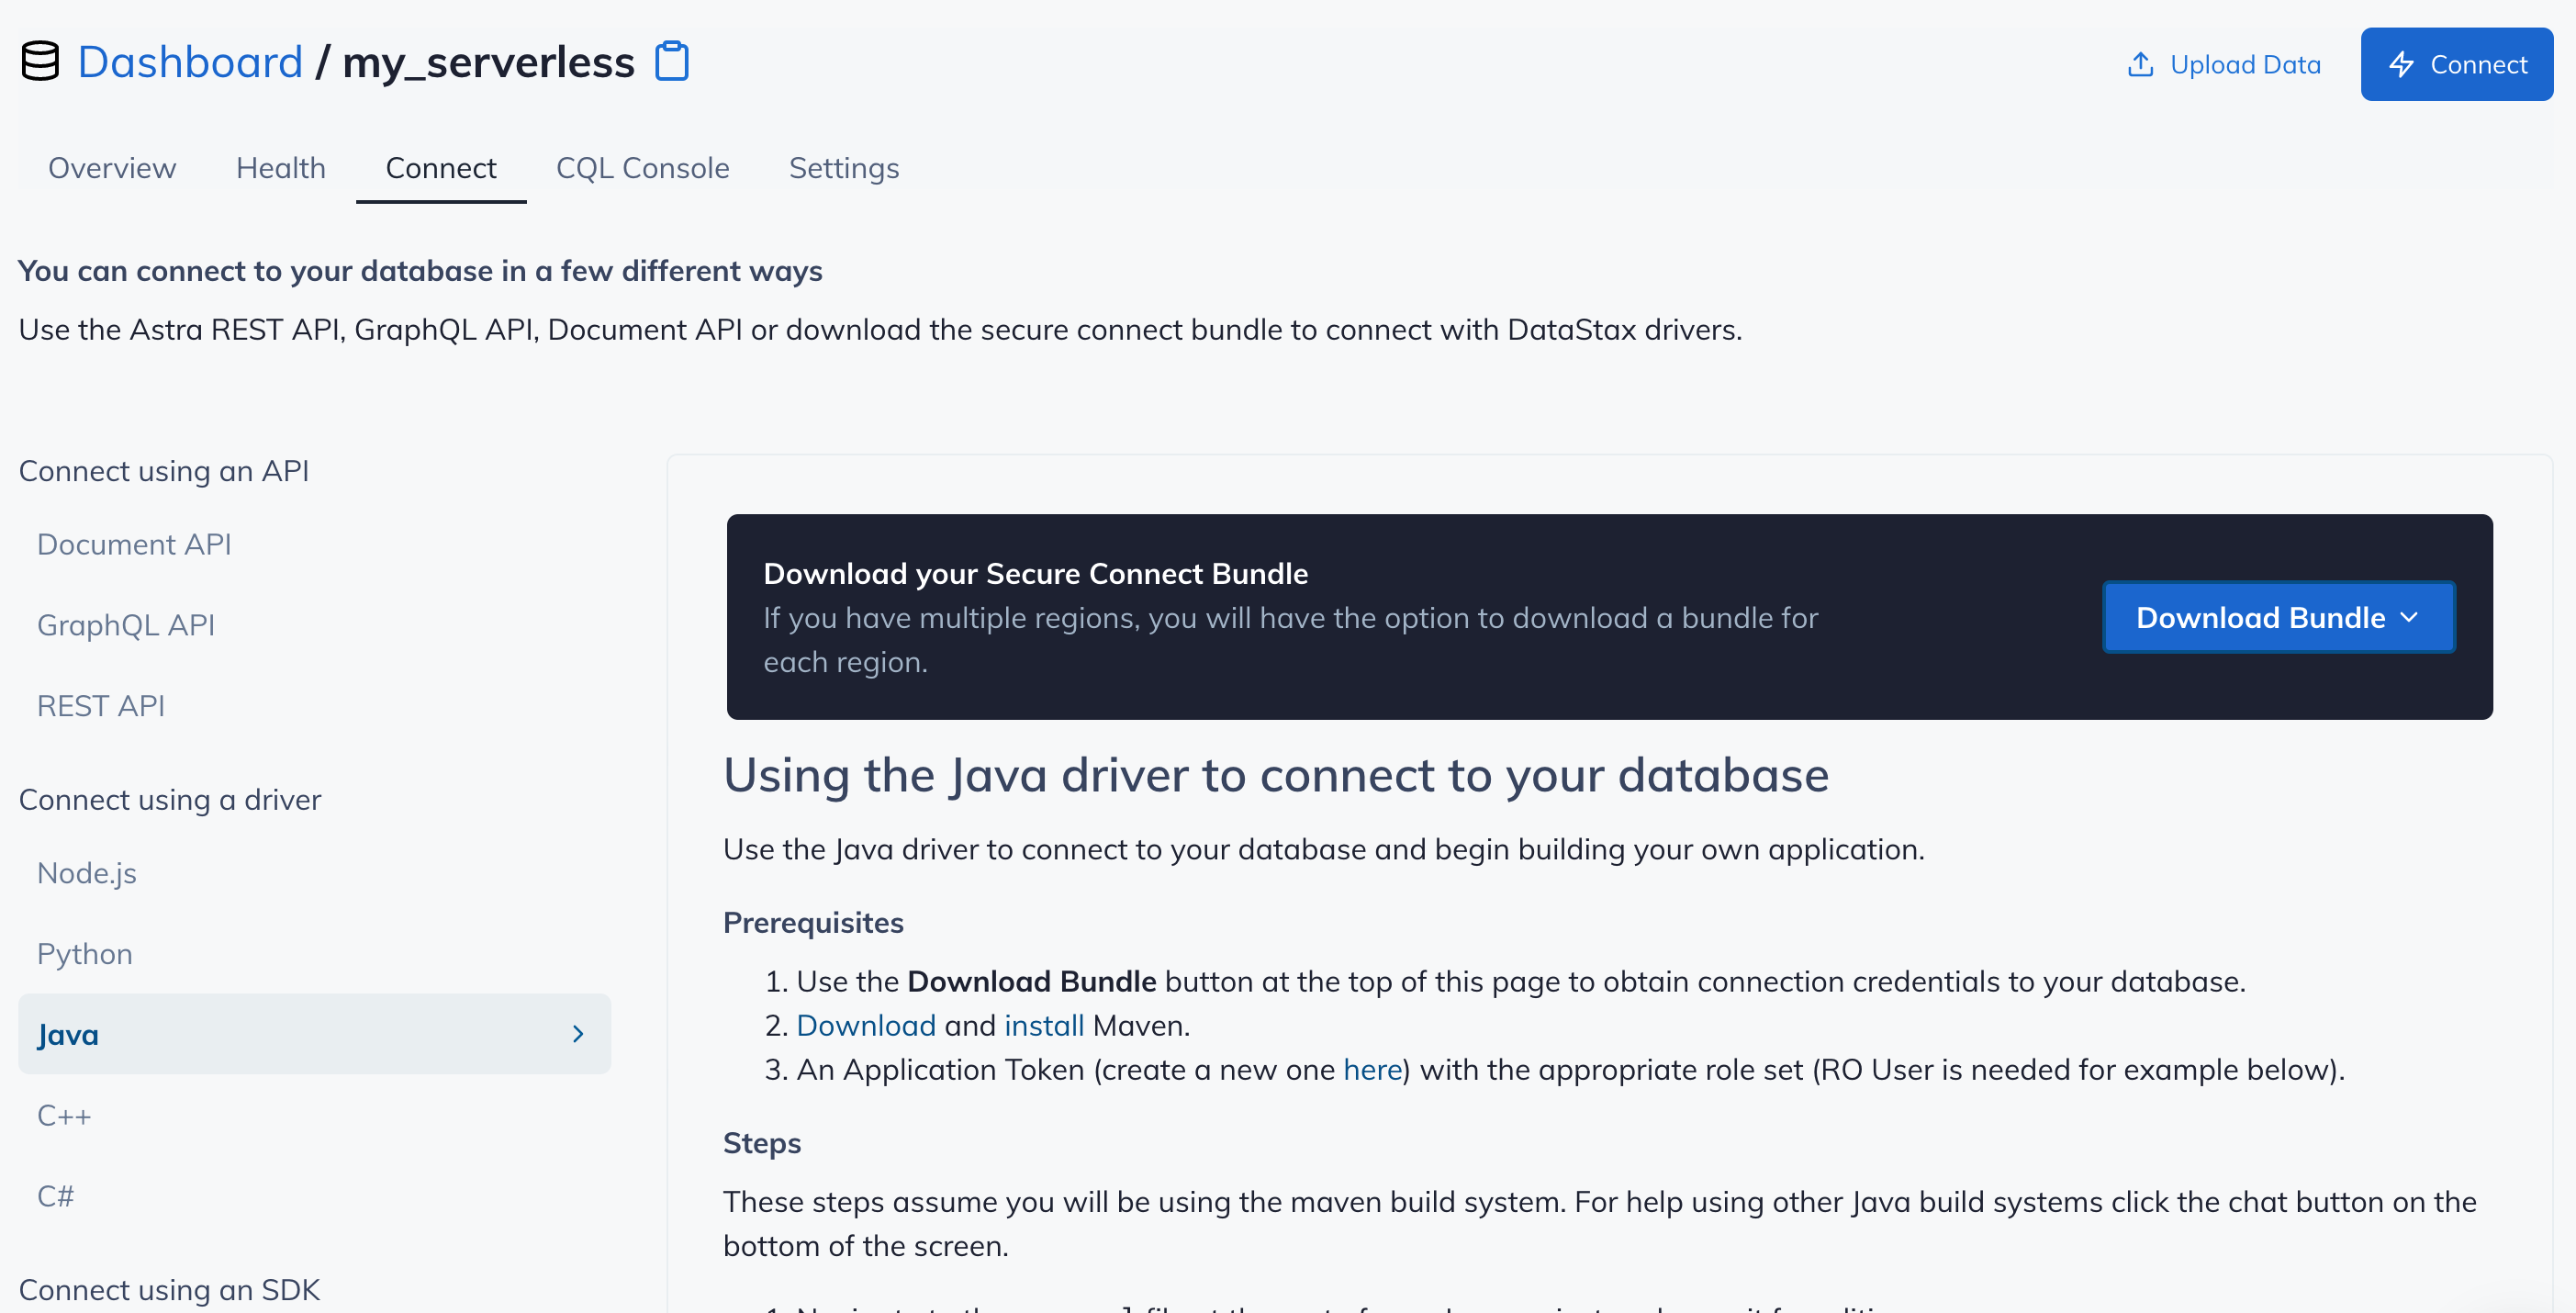
-
Make note of where to use the
Client IdandClient Secretthat is part of the Application Token that we generated earlier.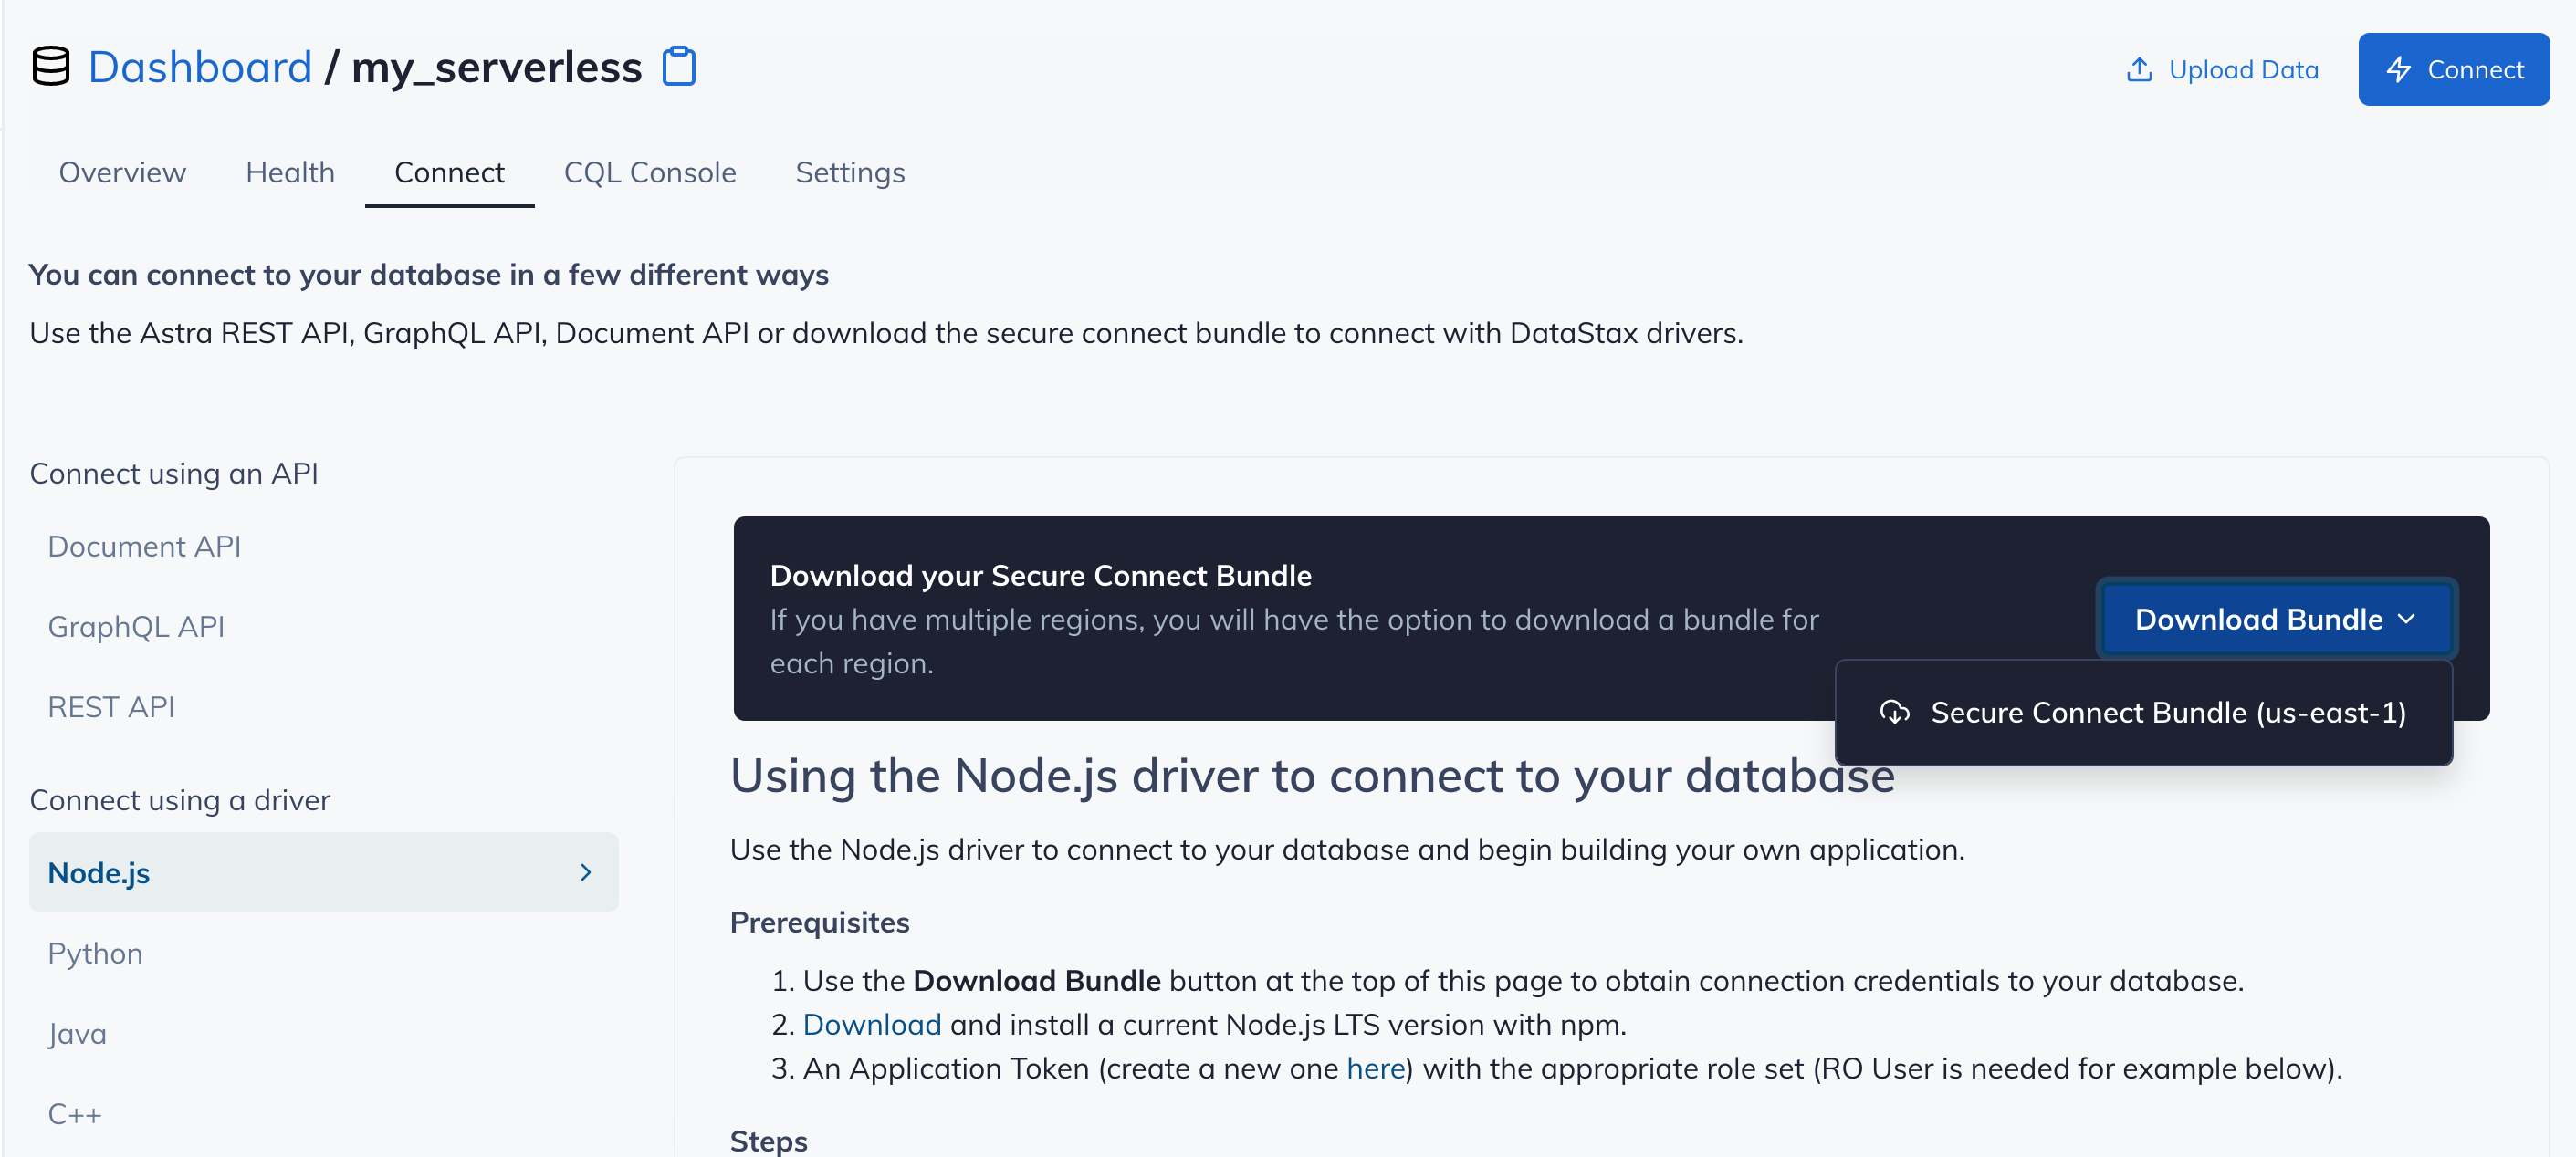
-
Click
Use this templateat the top of the GitHub Repository:
-
Enter a repository name and click 'Create repository from template':
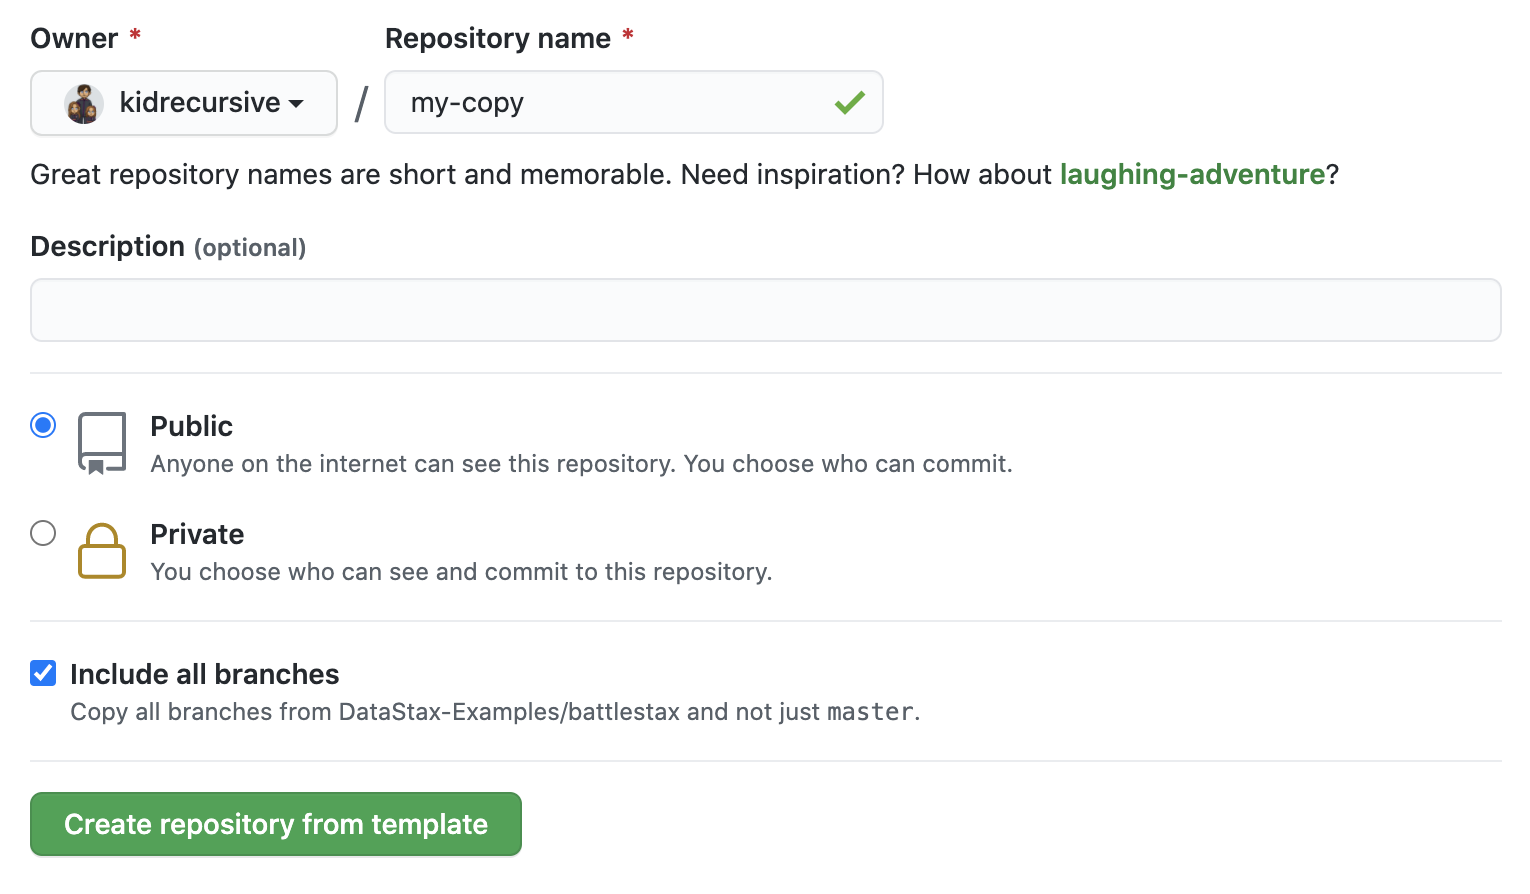
Make sure you've completed the prerequisites before starting this step
